Have you ever looked at a photograph and felt a spark of inspiration to take it beyond the frame? That’s the magic of mixed media—it’s about breaking creative boundaries and blending different art forms to create something truly unique. Incorporating photography into your mixed media pieces can add depth, texture, and a personal touch that truly elevates your art. Whether you’re a seasoned mixed media artist or just starting, this guide will equip you with the techniques and inspiration to seamlessly blend your photos into your artwork.
Choosing the Right Photographs
The foundation of a captivating mixed media piece often lies in the photograph itself. Here’s what to consider when selecting your photos:
- Personal Resonance: Opt for photographs that evoke emotion or hold personal significance. This connection will translate into your artwork, creating a deeper impact.
- Composition and Focal Point: Strong compositions with a clear focal point will translate well into mixed media, providing a foundation for other elements to build upon.
- Resolution and Print Quality: Choose high-resolution images to ensure they remain sharp and detailed when printed, especially if you’re enlarging them. Experiment with different print types like matte, glossy, or even canvas, depending on the desired effect.
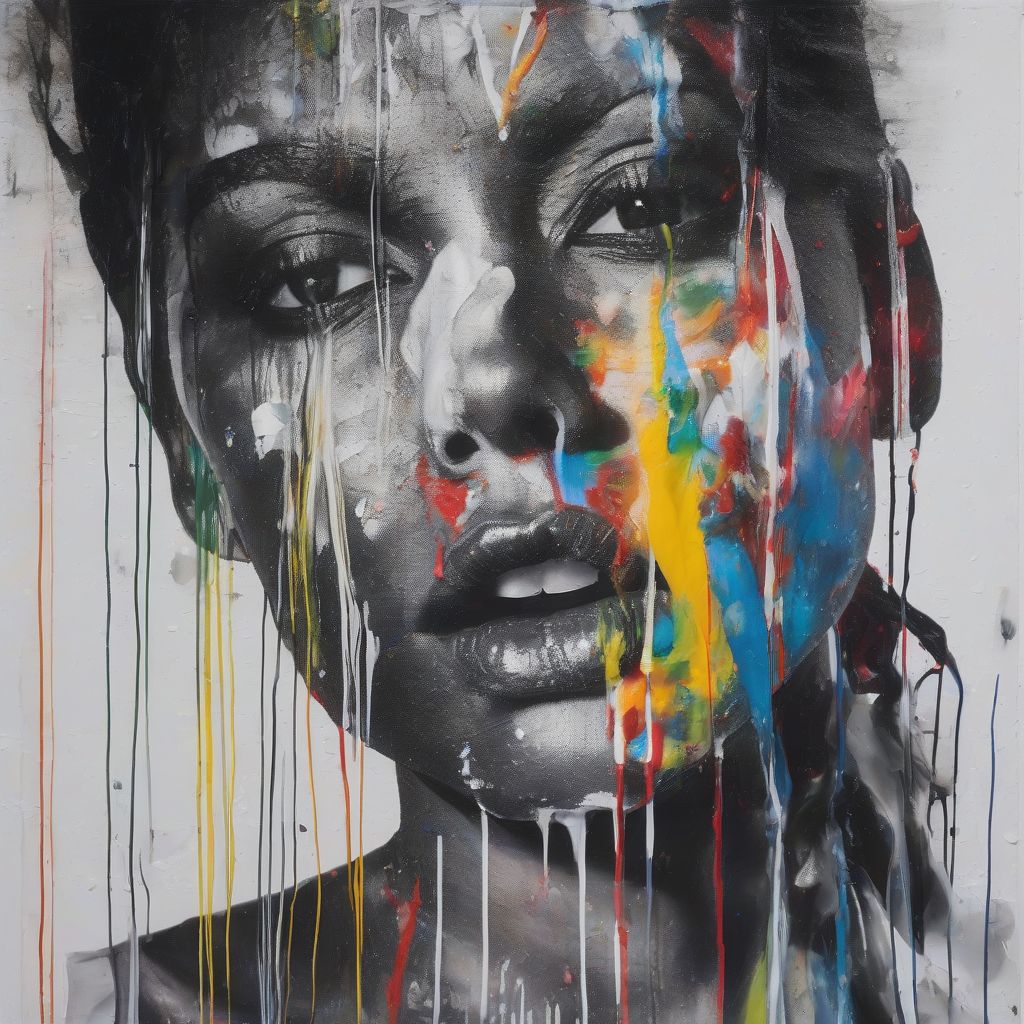
 Mixing Photography with Acrylic Paint
Transferring Photos to Your Canvas
There are several methods to seamlessly integrate your chosen photograph into your artwork:
1. Image Transfers
Image transfers offer a unique way to fuse your photograph directly onto various surfaces like canvas, wood, or fabric.
- Gel Medium Transfer: This popular technique involves applying a gel medium to your chosen surface and pressing the photo face down. Once dry, you gently rub away the paper backing, leaving the image transferred onto the surface.
- Packing Tape Transfer: A simpler method, perfect for beginners, this technique involves adhering packing tape to the photo’s surface and carefully peeling away the paper backing to reveal a transparent image that can be adhered to your canvas.
2. Collage and Decoupage
For a more textured, layered look, consider incorporating collage techniques:
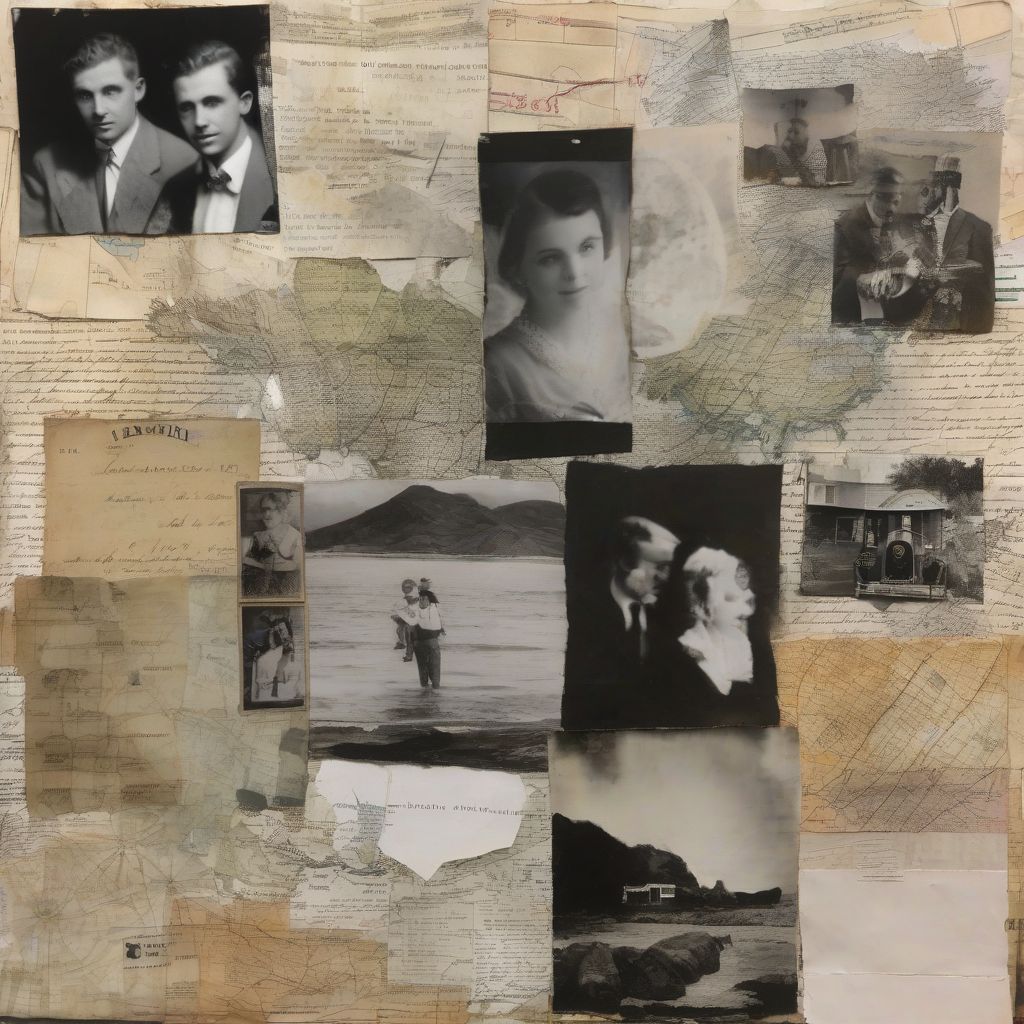
- Tearing and Layering: Experiment with tearing or cutting your photos into different shapes and sizes. Layer them onto your canvas using matte medium or PVA glue, overlapping edges for a dynamic composition.
- Incorporating Found Objects: Enhance the visual narrative by adding found objects that complement your photo. Think buttons, fabric scraps, or dried flowers—the possibilities are endless!
 Collage with Vintage Photos and Maps
[amazon bestseller=”mixed media art supplies”]
Building Layers and Adding Texture
Once your photograph is integrated, it’s time to bring your artistic vision to life through layers and textures:
1. Painting Over and Around
- Acrylics: Their versatility and quick-drying nature make acrylics perfect for layering over and around your photos. Use them to add pops of color, create abstract backgrounds, or draw attention to specific areas of the image.
- Watercolors: For a softer, dreamier effect, consider watercolors. Lightly glaze over your photo or use them to create ethereal washes that blend with the image.
2. Incorporating Drawing and Mark Making
- Pen and Ink: Fine-liners, dip pens, and even markers can introduce intricate details, patterns, or textural elements to your piece.
- Drawing Mediums: Explore charcoal, pastels, or colored pencils to add shading, highlights, or create a sense of depth around your photo.
3. Exploring Texture with Mixed Media
Don’t be afraid to experiment with unconventional materials to add a unique tactile quality:
- Fabric and Paper: Introduce fabric scraps, textured papers, or even sheet music to create dimensional layers.
- Found Objects: Think outside the box—incorporate buttons, beads, string, or even small, natural elements to add visual interest and texture.
Creating Harmony and Balance
Achieving a cohesive and visually appealing mixed media piece relies on finding the right balance between the photograph and the other elements:
- Color Harmony: Choose a color palette that complements the tones and mood of your photograph. Consider using a limited color palette for a cohesive look or contrasting colors to make the photo pop.
- Focal Point: Guide the viewer’s eye by strategically layering elements. Ensure the photograph remains a key focal point, using other elements to enhance, not overpower it.
- Visual Flow: Create a sense of movement and depth by considering the placement of lines, shapes, and textures. This will draw the viewer’s eye through the entire composition.
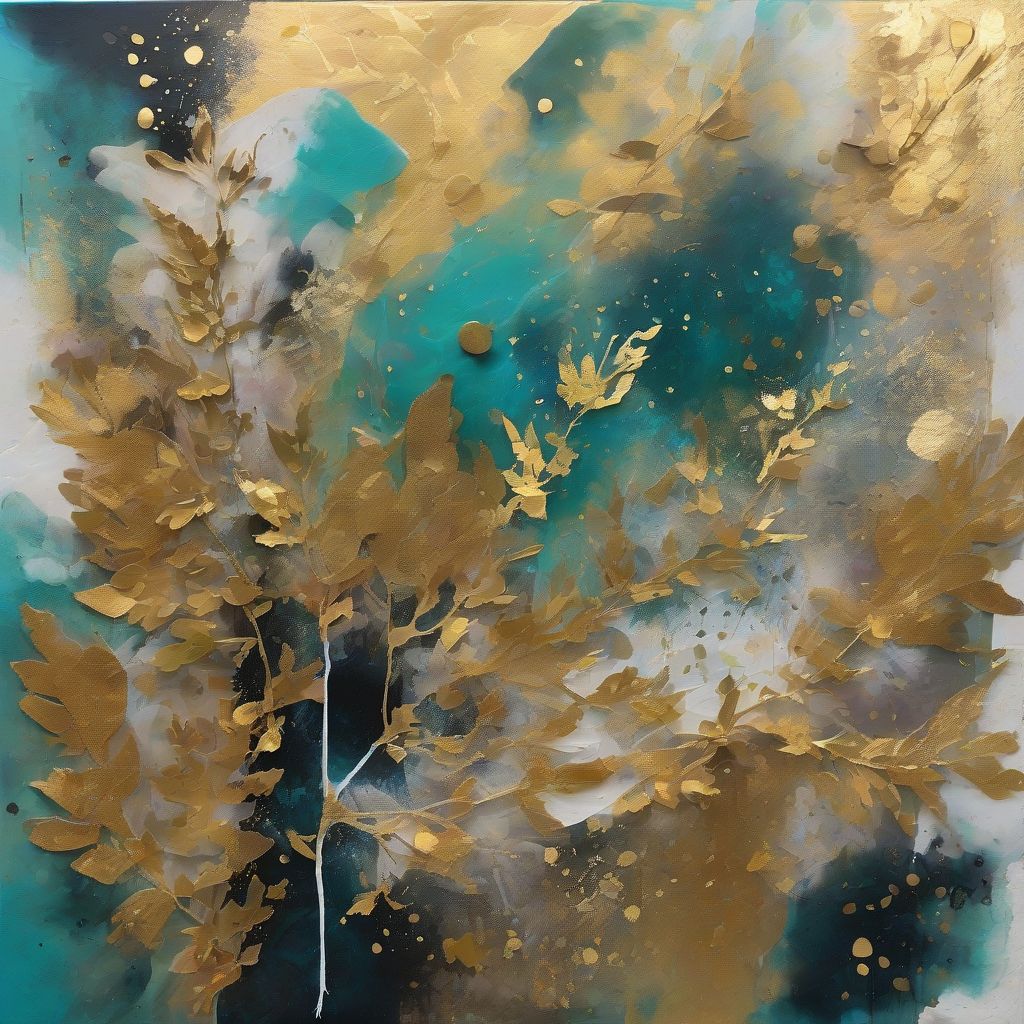
 Abstract Mixed Media with Nature Photography
Sealing and Displaying Your Artwork
To protect your mixed media masterpiece for years to come, it’s essential to seal it properly:
- Varnish: Apply a sealant like acrylic varnish to protect your artwork from dust, UV rays, and fading. Choose a gloss, satin, or matte finish based on your desired effect.
- Framing: Select a frame that complements the style and size of your artwork. Consider using a mat board to create a visual border and prevent the artwork from touching the glass.
Embracing the Creative Process
Remember, there are no strict rules in mixed media. It’s about experimentation, pushing boundaries, and finding your own unique style. Don’t be afraid to try new techniques, make mistakes, and let your creativity guide you. The most important aspect is to enjoy the journey of transforming your photographs into captivating mixed media artwork that tells your story.
